Add-ins are a feature in Microsoft Excel that provide additional features and commands. This article goes through the add-ins in Excel that you will need to use a spread sheet forecast.
This article shows you how you can enable these Add-ins to use the Monthly Forecasting Calculator.
[There is also an Online Forecasting Calculator that allows you to cut and past your excel data to make a forecast].
For more information on how to forecast for your call centre in Excel, take a look at our articles on forecasting.
Two of the more popular add-ins are the Analysis ToolPak and Solver, both of which provide extended data analysis capability for “what-if” planning. Our Forecasting Template requires both of these add-ins, so you need to install and activate them before using the calculator for the first time.
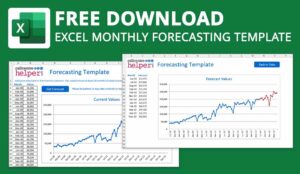
Download our Free Excel Monthly Forecasting Template.
To see if the add-ins are already installed, click on the Data tab in an open Excel spreadsheet
If the add-ins have been installed you should be able to see an Analysis group, usually at the right-hand end of the Data tab. This group will contain command buttons for Data Analysis and for Solver.
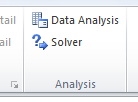
If it’s there then click Solver in the Analysis group on the Data tab to ensure that the Solver add-in is loaded properly.
If you don’t see the Analysis group box then:
Click the File tab.
Click Options, and then click the Add-Ins category.
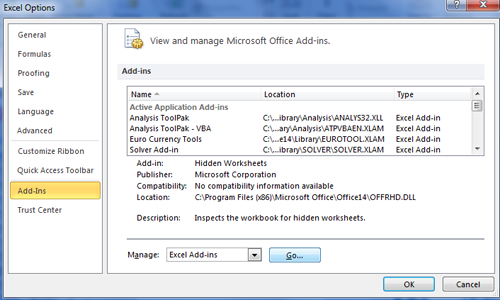
Near the bottom of the Excel Options dialog box, make sure that Excel Add-ins is selected in the Manage box, and then click Go.
In the Add-Ins dialog box, select the check boxes for Analysis ToolPak and Solver Add-in, and then click OK.
If Excel displays a message that states it can’t run this add-in and prompts you to install it, click Yes to install the add-ins. If you are installing two add-ins, Excel prompts you to install an add-in twice, once for the Analysis ToolPak and once for Solver.
Back in the main Excel spreadsheet view you will see that an Analysis group has been added at the end of the Data tab. This group now contains command buttons for Data Analysis and for Solver.
Click Solver in the Analysis group on the Data tab to ensure that the Solver add-in is loaded properly.
Our forecasting tool calls the Solver functionality in a macro, so we also need to check that your Visual Basic module includes a reference to the Solver add-in (Solver.xlam).
Press the Alt-F11 keys together to open the Visual Basic Editor, choose Tools, References… and make sure that the box next to Solver is checked.
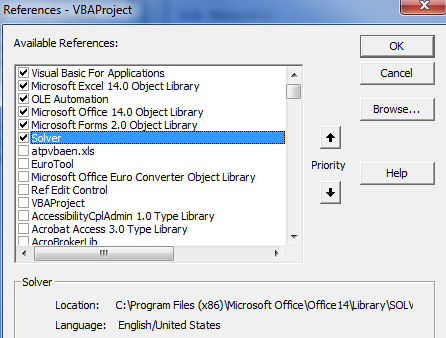
You should now be ready to use the tool.
Alternatively, Take a look at our Experimental Online Forecast Calculator or to find out more about Designing a Forecasting Spreadsheet, take a look at this recorded webinar.
Author: Jonty Pearce
Reviewed by: Jo Robinson
Published On: 4th Mar 2015 - Last modified: 31st May 2024
Read more about - Essential Call Centre Tools, Excel, Forecasting


